Introduction
Throughout this book, we will programmatically generate block diagrams to illustrate concepts and processes, such as the one below.
%%blockdiag -w 300
{
    orientation = portrait
    Initialisation -> Evaluation -> "Terminate?" -> Selection -> Variation
    Variation -> Evaluation
    Initialisation [color = '#ffffcc']
}
We will achieve this using what appears to be a relatively unknown Jupyter extension called xdiag_magic which provides custom magic functions for generating diagrams with blockdiag. Unfortunately, it isn't as straight-forward as entering conda install ... to get it up and running, but it's still quite easy.
Installation
These instructions assume you already have Jupyter Lab up and running, with your environment of choice activated.
- Clone or Download this mirrored repository to your your machine. Make sure to extract it if you download it as a ZIP archive.
- Using the command line, navigate to the
xidag_magic_extensiondirectory, e.g. usingcd. - Once you're inside the directory, make sure you are within the desired environment, e.g. if you're using conda make sure you type
conda activate <environment_name>. - Type
pip install -r requirements.txt. - Type
pip install -e ..
Warning
Be sure not to delete the xidag_magic_extension directory after installing it. If it's deleted, it will need to be re-installed as the extension will run from this directory.
Examples
To test it, launch Jupyter Lab and open or create a notebook. You need to run the following code before generating any diagrams.
%reload_ext xdiag_magic
%xdiag_output_format svg
Then you can visit blockdiag's examples and try running some of their example diagrams to see the output. Your diagram code must appear in a Jupyter Lab Code cell, and be surrounded with the following.
%%blockdiag
{

}
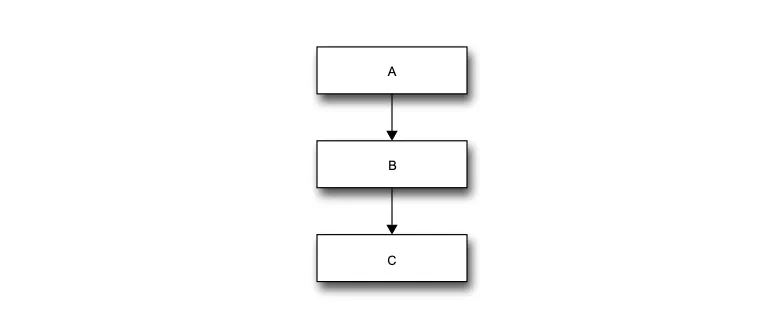
For example:
%%blockdiag -w 300
{
    orientation = portrait
    A -> B -> C
}

