Introduction
We'll be taking a practical approach in the following chapters as we set off on our D3.js learning journey. As such, it helps to have the right tools and templates available so that we can focus on the examples and exercises. We'll split this chapter into two sections: the first on software recommendations; and the second on a starter HTML template.
Software Recommendations
The practical aspects of this book revolve around writing Javascript within HTML <script> tags and viewing the output in a web browser. It's likely we already have all the tools we need to get started, as a text editor and web browser come packaged with most operating systems. However, some text editors offer quality of life features which make working with text and code much easier, and some web browsers offer web development tools which enable helpful inspection and debugging capability.
Code Editor
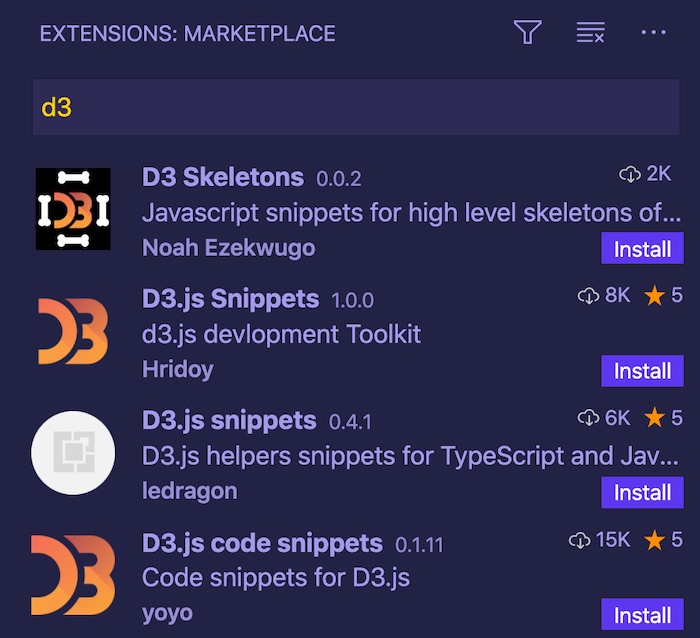
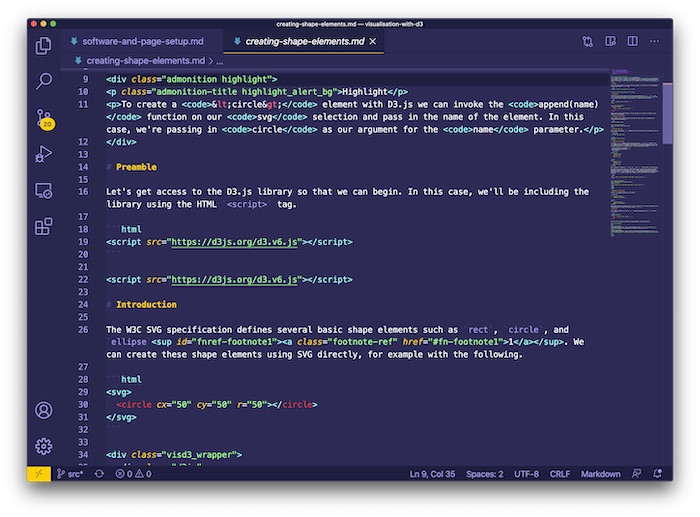
My code editor of choice is Microsoft's Visual Studio Code. It's free, built on open source, and available for most platforms and operating systems. It's highly customisable and comes with its own extension marketplace, complete with many free first and third-party extensions.

In fact, this entire book has been written within Visual Studio Code, and you can open all its source files to get a closer look, complete with some nice syntax highlighting.

Web Browser
The web browser if where you'll be viewing your output in most cases. Every web browser behaves differently, some more than others. D3.js supports recent browsers, e.g. Chrome, Edge, Firefox, and Safari. It requires a modern browser to make use of SVG and CSS3 transitions, and unfortunately, if your target browser doesn't support those standards, there's no official support1.
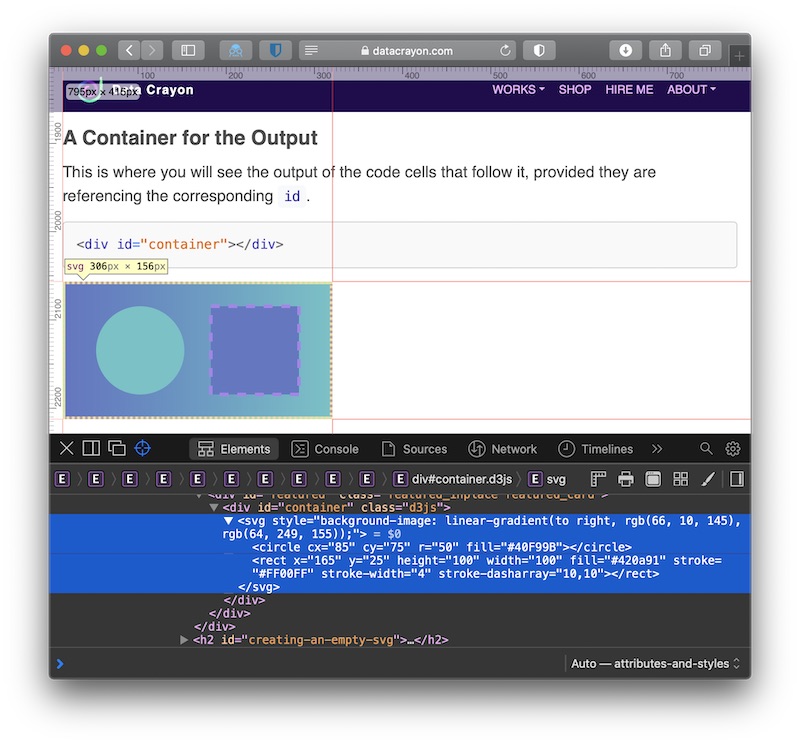
I recommend using Safari, Firefox, or Chromium. Whichever of the supported browsers you end up selecting, I highly recommend picking one with a web developer console.

It will let you inspect the document object model (DOM)2 to check out your elements and attributes, and it even gives you access to a JavaScript console which will log warnings and errors. This is incredibly useful for those "why isn't my visualisation working?" moments!
Page Setup with a Starter HTML Template
Besides the tools to edit and view an HTML document, you may need a starter HTML template to get started! We're going to use the most basic template recommended for most HTML document authors3.
<!DOCTYPE html>
<html>
  <head>
    <meta charset="UTF-8">
    <title>HTML Template</title>
  </head>
  <body>
    <p>Insert content here.</p>
  </body>
</html>
For example, in a future chapter we will be using D3.js to create SVG shape elements, let's incorporate the code and markup from that chapter into the template above.
<!DOCTYPE html>
<html>
  <head>
    <meta charset="UTF-8">
    <title>Creating Shape Elements</title>
    <script src="https://d3js.org/d3.v7.js"></script>
  </head>
  <body>
    <div id="container"></div>
    <script>
        const svg = d3.create("svg");

        svg
          .append("circle")
          .attr("cx", 50)
          .attr("cy", 50)
          .attr("r", 50);

        d3
          .select("#container")
          .append(() => svg.node());
    </script>
  </body>
</html>
Don't worry if the JavaScript code above within the <script> tags above makes no sense - we haven't covered it yet!
Conclusion
In this section, we covered some software recommendations and an HTML starter template to get you up and running with the practical examples in this book. Getting the hang of D3.js may involve plenty of tinkering, saving, and refreshing of HTML documents - don't be discouraged if your visualisations don't look right the first, second, or third time!
