Data Analysis with Rust Notebooks
A practical book on Data Analysis with Rust Notebooks that teaches you the concepts and how they’re implemented in practice.
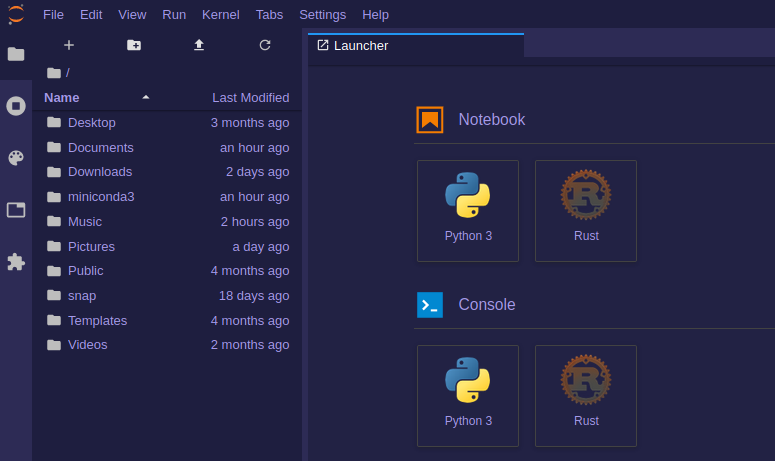
Get the bookdata analysis with rust notebooks Setup Anaconda, Jupyter, and Rust
We are taking a practical approach in the following sections. As such, we need the right tools and environments available in order to keep up with the examples and exercises.

- Previous
- Preface
From the collection
Data Analysis with Rust Notebooks
A practical book on Data Analysis with Rust Notebooks that teaches you the concepts and how they’re implemented in practice.
Get the book
ISBN
978-1-915907-10-3
Cite
Rostami, S. (2020). Data Analysis with Rust Notebooks. Polyra Publishing.