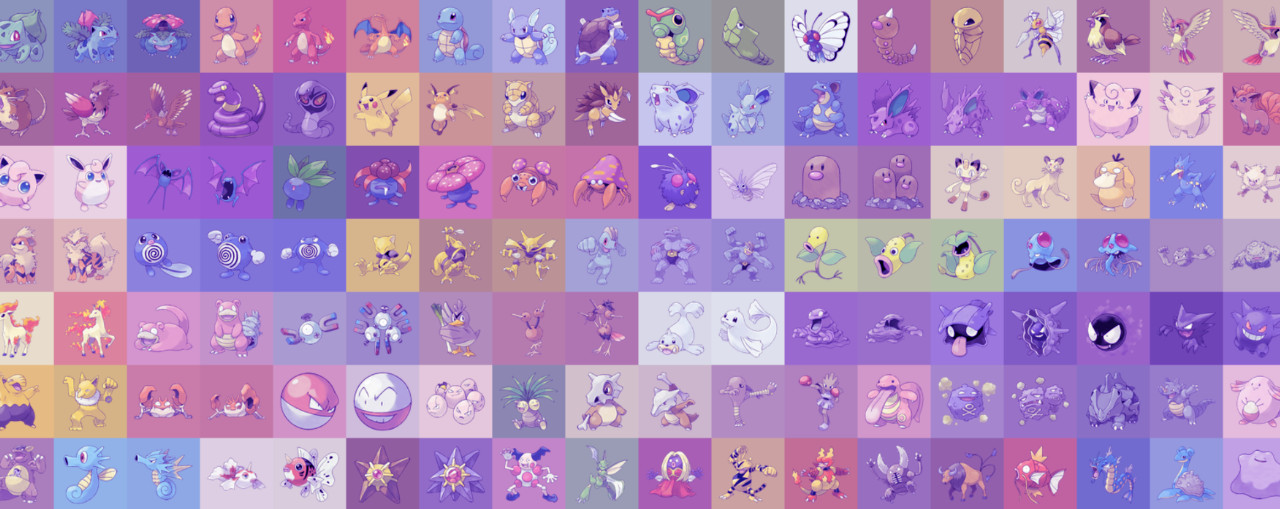
Colour makes everything better.
Choosing the right colours can often make all the difference when adding finishing touches to a visualization. Finding colours that work together can be difficult, even more so when we need to find colours for hundreds of elements.
The common solution is to generate the colours randomly or use some existing colour palette. However, we may aim for colours that match their corresponding elements, ultimately leading to a more cohesive design.
So let's see how we can generate some colours with code! There are many ways to generate colours, but we'll be looking at how to extract the dominant colour from an image.
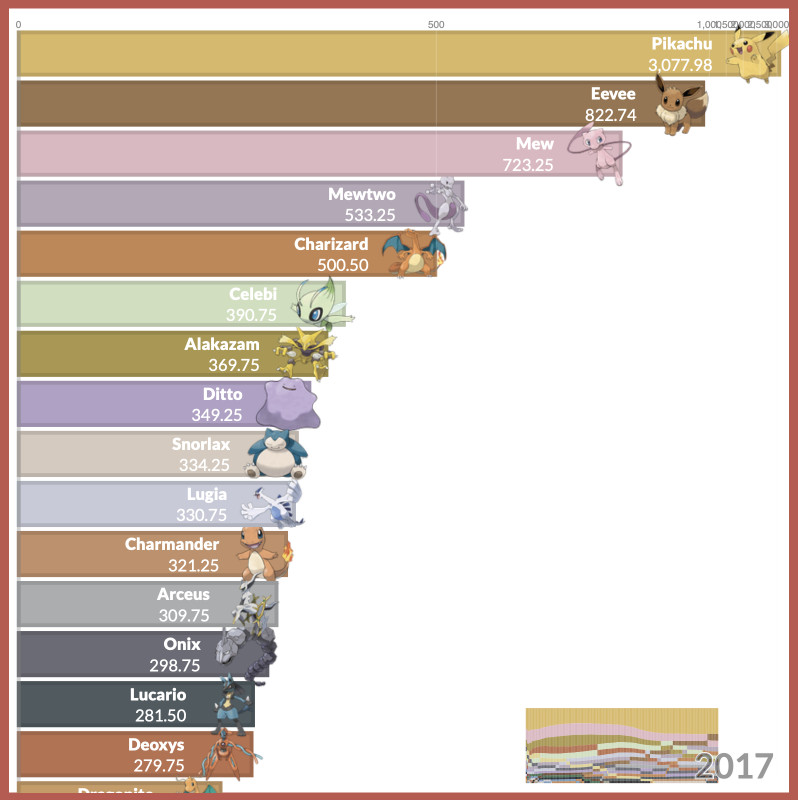
We'll consider one of my earlier Pokémon-themed visualizations made with PlotAPI.
In this visualization, I needed colours for bars that represent each of the 800+ Pokémon. Let's see how I did it, and go a little further by trying some gradients too.
Downloading the images
I've mirrored the images with the following pattern.
https://datacrayon.com/datasets/pokemon_img/{pokedex_id}.png
So we can substitute in a Pokédex ID of 025 to get an image of Pikachu.

All the images are of the PNG file format and have transparent backgrounds, so there's plenty of space available to fill with a nice background colour.
We're going to need to retrieve these images if we want to operate on them. We'll use the urllib package for this.
import urllib.request

image_root = "https://datacrayon.com/datasets/pokemon_img/"

urllib.request.urlretrieve(f"{image_root}025.png", "img_025.png");
Great! We now have Pikachu's image saved locally with the filename img_025.png.
Extracting the dominant colour
We're going to use the Python implementation of the helpful color-thief package. You can install with the following.
pip install colorthief
Let's use it to extract the dominant colour from the image of Pikachu that we just saved locally.
from colorthief import ColorThief

color_thief = ColorThief('./img_025.png')
dominant_color = color_thief.get_color(quality=1)

print(dominant_color)
(228, 200, 119)
We now have the RGB for our dominant colour, but we may want to convert it to a hexadecimal colour string too.
hex_color = f"#{dominant_color[0]:02x}{dominant_color[1]:02x}{dominant_color[2]:02x}"

print(hex_color)
#e4c877
You could do the same with hex_color = '#%02x%02x%02x' % dominant_color, but I prefer using f-strings in my own work.
Playing with colours
Let's use our newly extracted colour as a background for our image.
<div style="height:100px; width:100px;
            background-color:#dec173;">
    <img style="height:100px; width:100px;" src="img_025.png">
</div>

It's looking great already, but let's try a few variations!
In this next one, let's specify an rgba colour so that we can change the opacity to 0.5.
<div style="height:100px; width:100px;
            background-color:rgba(222, 193, 115, 0.5);">
    <img style="height:100px; width:100px;" src="img_025.png">
</div>

How about using CSS filters to darken the background colour?
<div style="height:100px; width:100px; position:relative;">
    <div style="position:absolute; height:100px; width:100px;
                background-color:#dec173; filter:brightness(75%);"></div>
    <img style="position:absolute; height:100px; width:100px; margin:0;"
         src="img_025.png">
</div>

Let's have one last play with filters!


Automating the process
Let's start automating the process. The first thing we'll do is define a function that expects a pokedex_id and returns the image and background as a HTML string.
def get_image(pokedex_id, brightness, size):
    urllib.request.urlretrieve(f"{image_root}{pokedex_id}.png",
                               f"img_{pokedex_id}.png")

    color_thief = ColorThief(f'./img_{pokedex_id}.png')
    dominant_color = color_thief.get_color(quality=1)

    return f'''
        <div style="height:{size}px; width:{size}px;
                    position:relative; float:left; display:block;">
            <div style="position:absolute; height:{size}px; width:{size}px;
                        background-color:rgb{dominant_color};
                        filter:brightness({brightness}%);"></div>
            <img style="position:absolute; height:{size}px;
                 width:{size}px; margin:0;" src="img_{pokedex_id}.png"
                 class="pub_data_image">
        </div>'''
I've also parameterised the brightness and size so I can play with them later.
I'll be outputting the HTML using IPython.core.display as I'm in a notebook, but you can use whatever you prefer. Let's try displaying a few selections with different configurations to make sure it works.
from IPython.display import display, HTML

html = ""
for i in range(1,10):
    pokedex_id = f"{i:03d}"
    html = html + get_image(pokedex_id, 100, 100)

display(HTML(f'<div style="overflow: auto;">{html}</div>'))


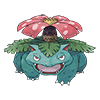


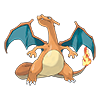


Now with brighter colours.
html = ""
for i in range(1,10):
    pokedex_id = f"{i:03d}"
    html = html + get_image(pokedex_id, 150, 100)

display(HTML(f'<div style="overflow: auto;">{html}</div>'))


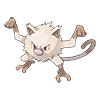
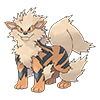
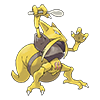
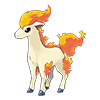
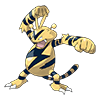
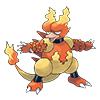
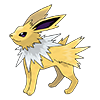
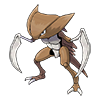
Now with smaller images and random brightness.
import random

html = ""
for i in range(1,152):
    pokedex_id = f"{i:03d}"
    html += get_image(pokedex_id,
                      random.randrange(110, 150),
                      50)

display(HTML(f'<div style="overflow: auto;">{html}</div>'))





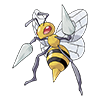
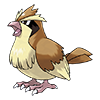
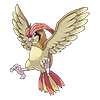



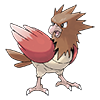















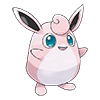
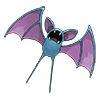






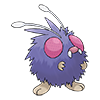



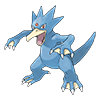













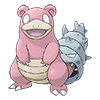



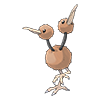
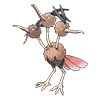









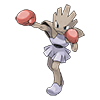


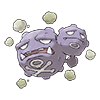
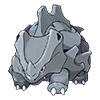





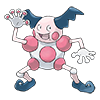
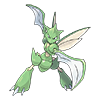











Now with gradients
To wrap things up I want to share a quick example that blends the backgrounds together using CSS gradients! Let's jump straight into it.
colors = {}

start = 133
end = 137
size = 125
brightness = 125

html = f'''<div style="display:block; margin-left:auto; overflow: auto;
                       margin-right:auto; width:{(end-start)*size}px">'''

for i in range(start,end):
    pokedex_id = f"{i:03d}"

    urllib.request.urlretrieve(f"{image_root}{pokedex_id}.png",
                               f"img_{pokedex_id}.png")

    color_thief = ColorThief(f'./img_{pokedex_id}.png')
    colors[i] = color_thief.get_color(quality=1)

for i in range(start,end):
    pokedex_id = f"{i:03d}"
    color_left = colors.get(i - 1, colors[i])
    color_middle = colors[i]
    color_right = colors.get(i + 1, colors[i])

    html = html + f'''
    <div style="height:{size}px; width:{size}px;
                position:relative; float:left; display:block;">
        <div style="position:absolute; height:{size}px; width:{size}px;
                    filter:brightness({brightness}%);
                    background-size: 200% 200%;
                    background-position: center bottom;
                    background-image:linear-gradient(
                        to right,
                        rgb{color_left},
                        rgb{color_middle},
                        rgb{color_right});">
        </div>
        <img class="pub_data_image"
             style="position:absolute; height:{size}px; width:{size}px;
             margin:0;" src="img_{pokedex_id}.png">
    </div>'''

html += '</div>'

display(HTML(html))


There's so much more we can do with this approach. I'm interested in what you come up with, so feel free to share in the discussion below!

